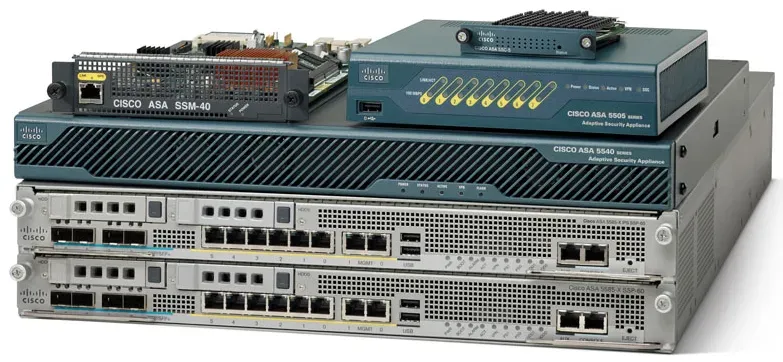
CLI and GUI steps for updating the firmware on your Cisco routers and switches

Updating the firmware of a Cisco Router or Switch is a crucial task for network administrators, as it helps maintain the network's stability, security, and performance. In this article, we'll provide step-by-step instructions on how to update the firmware of your Cisco device using both the Command Line Interface (CLI) and the Graphical User Interface (GUI).
Before we dive into the instructions, it's important to mention that there are two ways to update the firmware: using a Trivial File Transfer Protocol (TFTP) server or a Secure File Transfer Protocol (SFTP) server. The best TFTP or SFTP server for your network will depend on several factors such as your network's security requirements and the size of the firmware file.
Below are some of the popular TFTP servers that you can use:
- TFTPD32 (https://tftpd32.jounin.net/)
- SolarWinds TFTP Server (https://www.solarwinds.com/free-tools/free-tftp-server)
And these are some of the popular SFTP servers that you can use:
- FileZilla Server (https://filezilla-project.org/download.php?type=server)
- OpenSSH (https://www.openssh.com/)
Now, let's start with updating the firmware using the CLI:
Step 1: Download the firmware image from Cisco's website and save it to your TFTP or SFTP server.
Step 2: Connect your computer to the console port of the Cisco device using a serial cable. Step
3: Open a terminal program on your computer and configure it to use the correct settings for the console connection. Step
4: Connect to the device by logging in using the username and password.
Step 5: Enter global configuration mode by typing "configure terminal".
Step 6: Type the following command to copy the firmware image from the TFTP server to the device's flash memory:
copy tftp flashor
copy sftp flashStep 7: Enter the IP address of the TFTP or SFTP server when prompted.
Step 8: Enter the name of the firmware image file when prompted.
Step 9: Wait for the copy process to complete.
Step 10: Type the following command to verify that the image was copied successfully:
dir flash:Step 11: Type the following command to boot the device using the new firmware:
boot flash:<filename>Step 12: Wait for the device to reboot and verify that the firmware has been updated successfully.
Next, let's take a look at how to update the firmware using the GUI:

Step 1: Download the firmware image from Cisco's website and save it to your computer.
Step 2: Connect to the device using the web browser.
Step 3: Log in using the username and password.
Step 4: Navigate to the firmware upgrade section in the device's web interface.
Step 5: Browse and select the firmware image file that you have downloaded.
Step 6: Click the upgrade button to start the firmware upgrade process.
Step 7: Wait for the upgrade process to complete.
Step 8: Verify that the firmware has been updated successfully.
That's it! By following these simple steps, you can update the firmware of your Cisco Router or Switch easily. It's important to always follow best practices and make sure that you have a backup of the device's configuration before updating the firmware.
